Live Expanding Disk Space On Windows Guest With ZFS
March 16, 2026
Expanding disk space on a Windows guest VM with ZFS is straightforward when done without a reboot. The key is to temporarily remove the recovery partition, expand the main partition, and then recreate the recovery partition. Let's walk through the process.
Before we begin, disable Windows recovery while we're expanding the disk and re-enable it afterward.
Check Current VM Disk Configuration
First, let's identify which disk device is being used by the Windows VM.
virsh domblklist --domain windows10
 Target   Source
--------------------------------------------------------------------------------------------------
 vda      /dev/zvol/tank/vm/windows
 sda      /root/windows/SW_DVD9_Win_Pro_10_2004_64BIT_English_Pro_Ent_EDU_N_MLF_-2_X22-29752.ISO
 sdb      /root/windows/virtio-win.iso
The main disk is vda, mapped to the ZFS volume at /dev/zvol/tank/vm/windows.
Check Current ZFS Volume Size
Let's see the current size of the ZFS volume.
zfs list
NAME                                                                                            USED  AVAIL  REFER  MOUNTPOINT
tank                                                                                           1012G   709G    96K  none
tank/vm                                                                                         320G   709G    96K  legacy
tank/vm/windows                                                                                 290G   779G   130G  -
The Windows volume is currently using 290GB with 779GB available.
Expand the ZFS Volume
Set the new size for the ZFS volume. In this example, we'll expand to 500GB.
NEW_SIZE=500G
zfs set volsize=$NEW_SIZE tank/vm/windows
Resize the VM Block Device
Now inform the VM about the new disk size using virsh.
virsh blockresize windows10 vda $NEW_SIZE
Block device 'vda' is resized
At this point, the hypervisor and ZFS both know about the larger disk, but Windows doesn't yet.
Open Disk Management in Windows
Open Disk Management in Windows to see the new unallocated space.
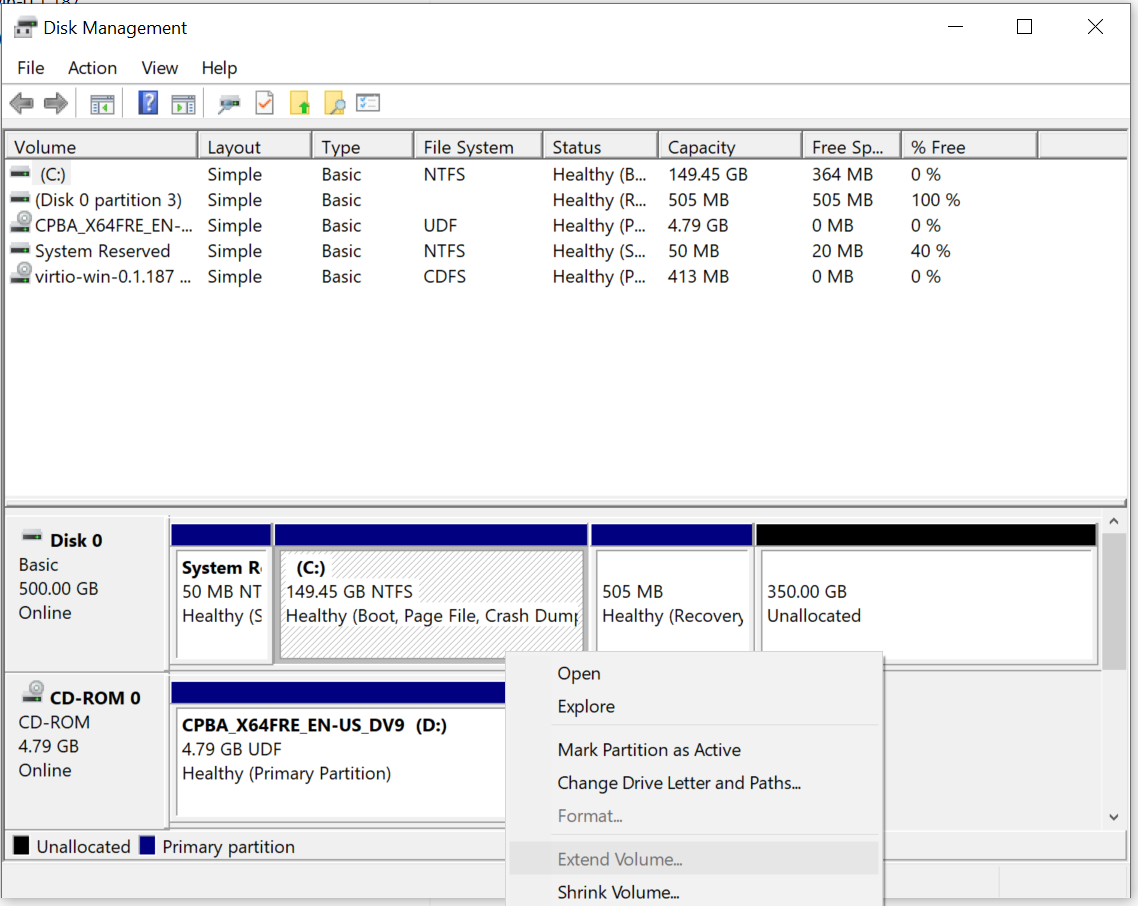
You'll notice the extra space is unallocated and separated from the main partition by the recovery partition.
Remove the Recovery Partition
We need to remove the recovery partition so we can extend the main partition. Open diskpart as Administrator.
Microsoft DiskPart version 10.0.19041.3636

Copyright (C) Microsoft Corporation.
On computer: WINSHELL

DISKPART> list disk

  Disk ###  Status         Size     Free     Dyn  Gpt
  --------  -------------  -------  -------  ---  ---
  Disk 0    Online          500 GB   350 GB
Select the disk and list its partitions.
DISKPART> select disk 0

Disk 0 is now the selected disk.

DISKPART> list partition

  Partition ###  Type              Size     Offset
  -------------  ----------------  -------  -------
  Partition 1    Primary             50 MB  1024 KB
  Partition 2    Primary            149 GB    51 MB
  Partition 3    Recovery           505 MB   149 GB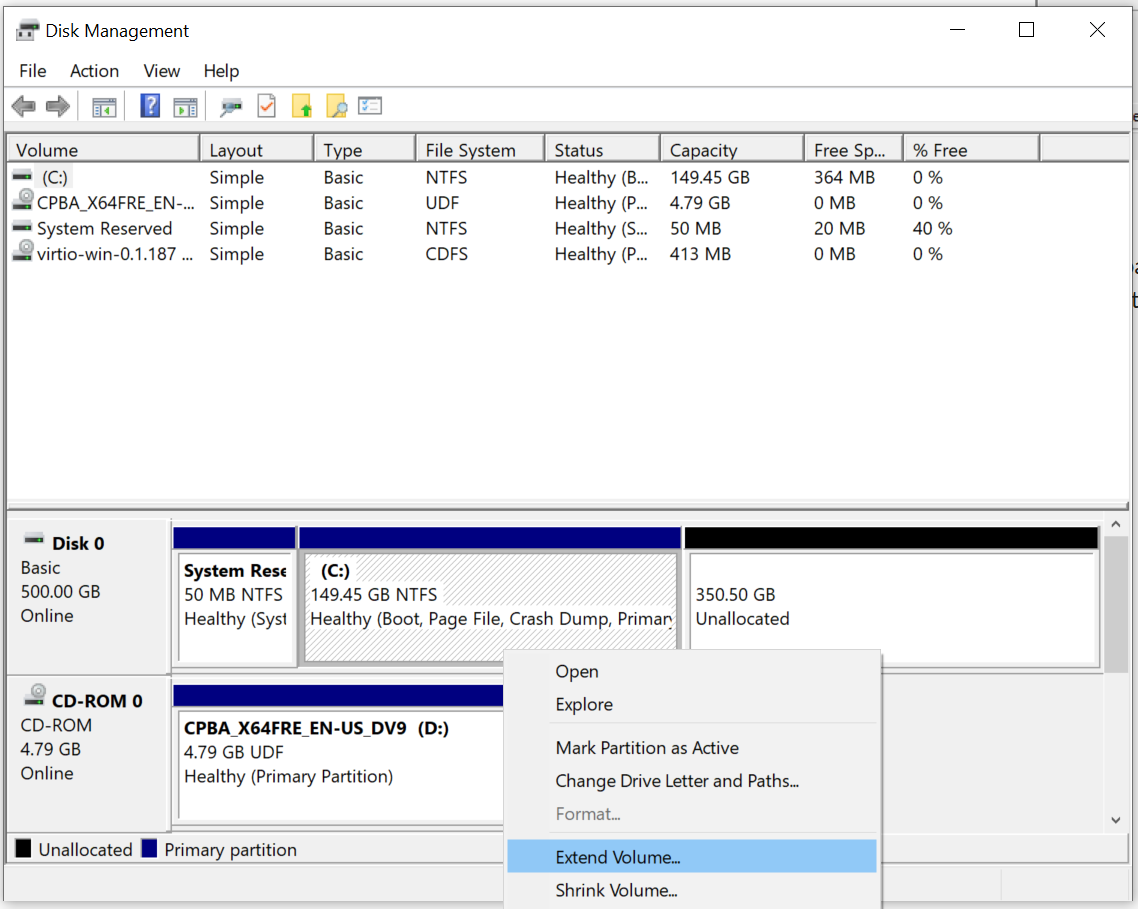
Select the recovery partition (Partition 3) and delete it.
DISKPART> select partition 3

Partition 3 is now the selected partition.

DISKPART> delete partition override

DiskPart successfully deleted the selected partition.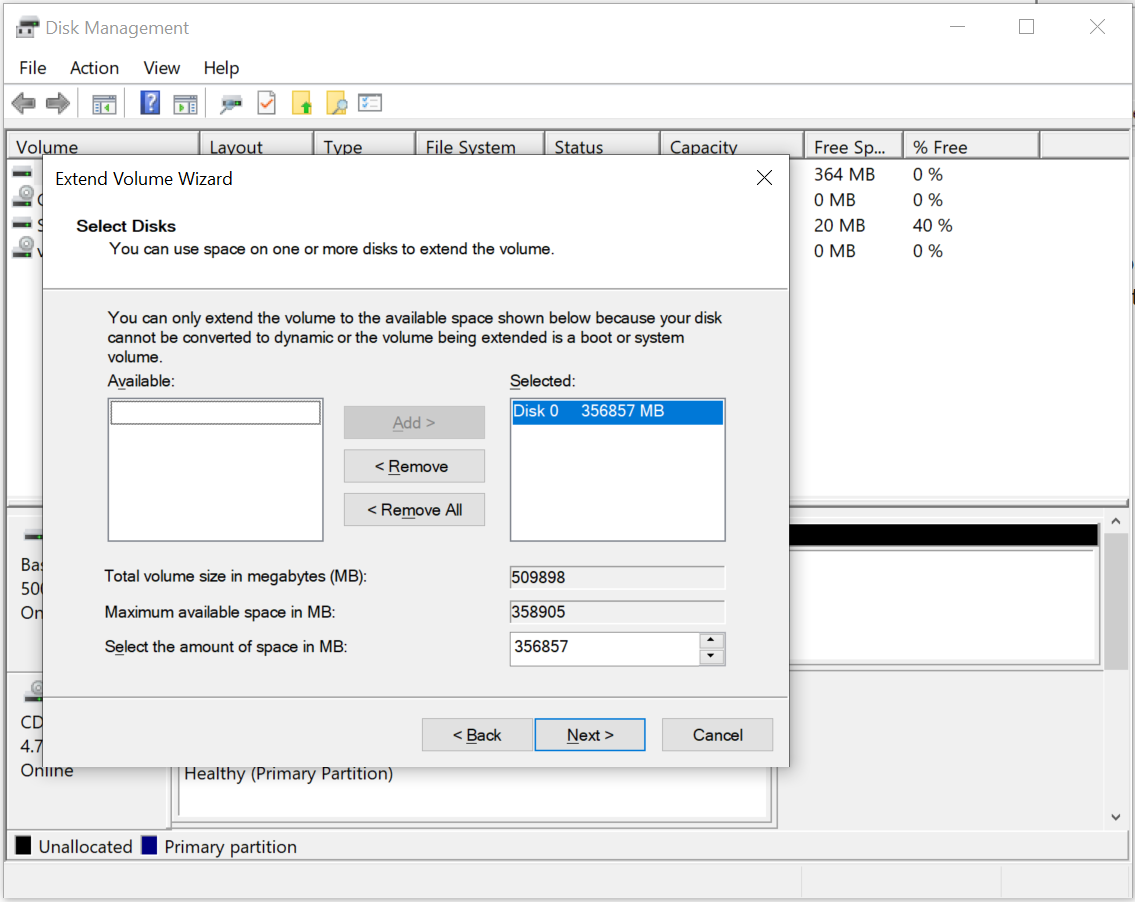
Extend the Main Partition
Now you can use Disk Management to extend the main partition (Partition 2) into the unallocated space. Right-click on the main partition and select "Extend Volume", then follow the wizard to use all available space.
Recreate the Recovery Partition
After extending the main partition, create a new simple volume for the recovery partition. Use about 2GB for the recovery partition. Back in diskpart, set the partition type to recovery.
DISKPART> list partition

  Partition ###  Type              Size     Offset
  -------------  ----------------  -------  -------
  Partition 1    Primary             50 MB  1024 KB
  Partition 2    Primary            497 GB    51 MB
  Partition 3    Primary           2048 MB   497 GB

DISKPART> select partition 3

Partition 3 is now the selected partition.

DISKPART> set id=27

DiskPart successfully set the partition ID.

DISKPART> exit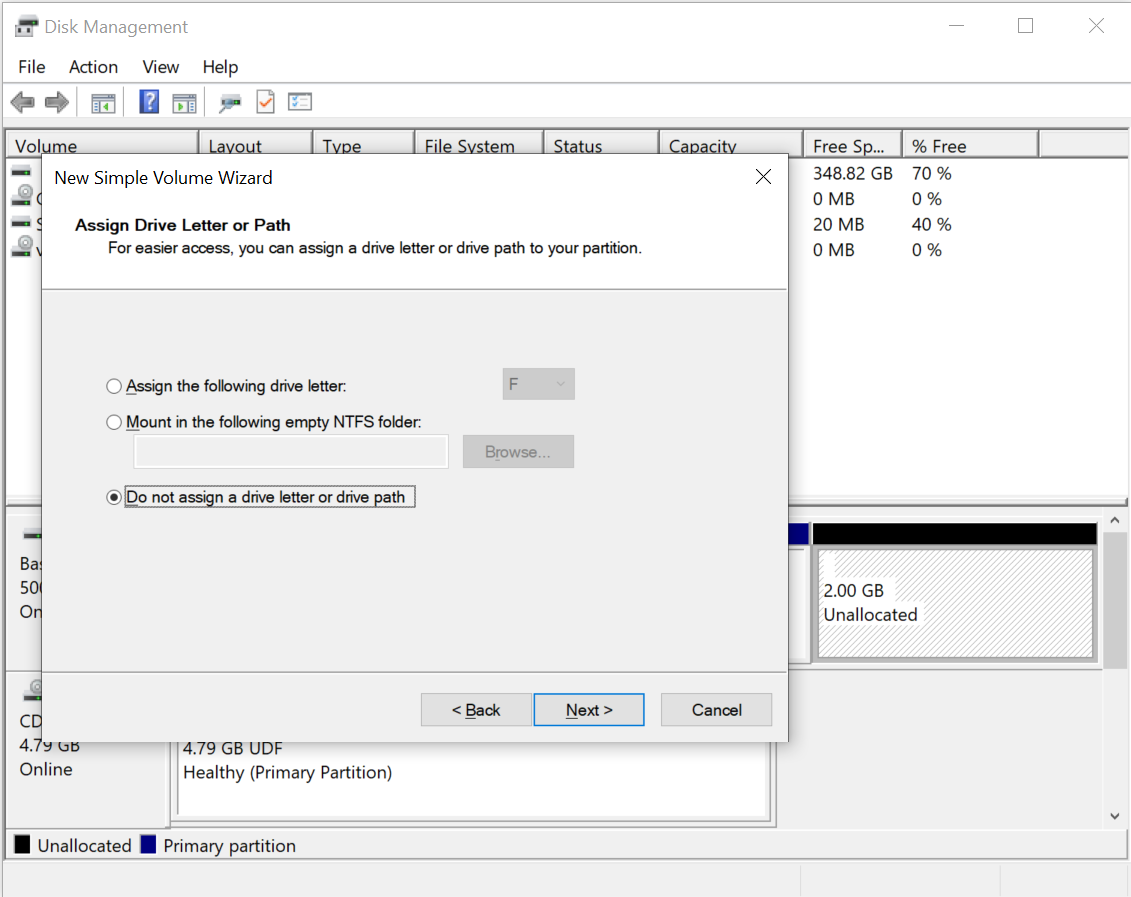
The partition ID 27 marks this as a recovery partition for MBR disks. For GPT disks, you'll need a different ID. This article on moving Windows recovery partitions has helpful information about the different partition type codes for MBR vs GPT.
Rebuild Recovery
Finally, rebuild the Windows recovery environment to point to the new recovery partition location. You're done! The Windows VM now has expanded disk space without requiring a reboot.